PurelyCoffeeBeans knows that people who regularly use coffee percolators at home or while traveling, say they make some of the best tasting coffee they have ever had, anywhere, as Joanne will testify later.

coffee percolators on a stove when camping
Image by suzanbar from Pixabay
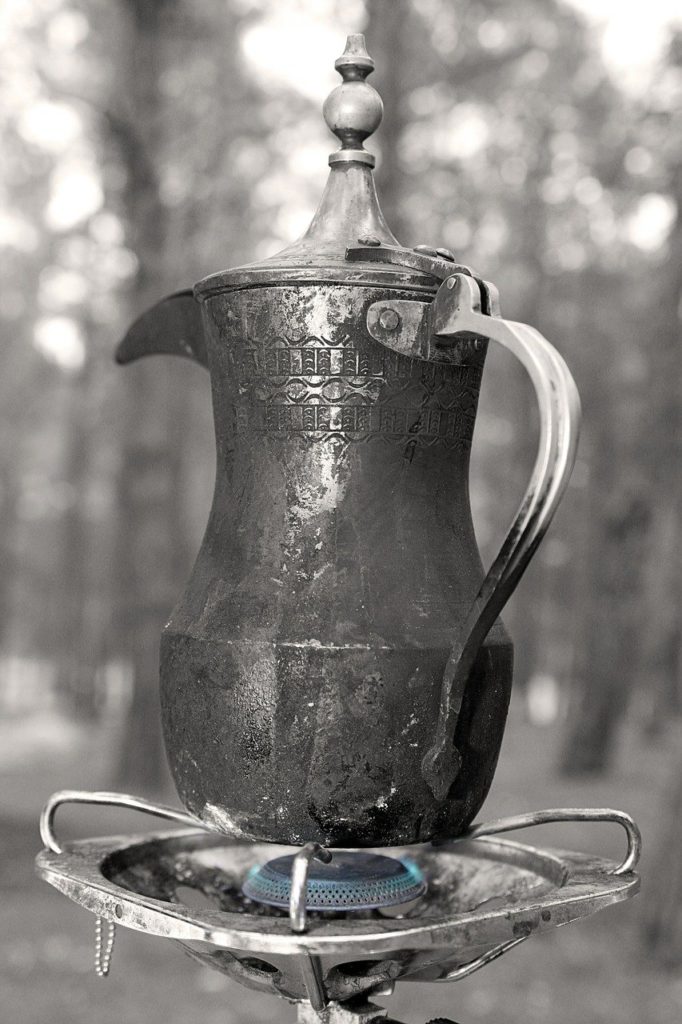
The featured percolator is an antique model used on a portable gas stove, looks like on an outdoors excursion into woods. Can brewing your coffee in a percolator pot, either a stove top percolator or one of the electric percolators, really give you a better tasting brew?
Many people insist that coffee perked in a percolator brings out a deeper, richer flavor from the ground coffee. You will find that there are many different styles of percolators for both home and camping, including RV use.
What will I learn about using a coffee percolator?
- How do you use coffee percolators?
- What are the perks of a percolator?
- How do you choose the best coffee percolators for you?
- Can one percolator really serve that many?
- Why I am rediscovering percolator coffee!
How do you use coffee percolators?
An electric percolator will cost a bit more, and the advantage is that you will have more features with an electric model. Going one better is the cordless percolator which allows you greater flexibility an and more options.
Whether you select an electric percolator or a stove top model, the set up and brewing is identical for both types of coffee percolators.
- After filling the carafe with the amount of water for you desired number of cups (most models can accommodate from 4 to 12 cups per pot), place the filter basket, fitted with the stem, into the pot.
- Scoop in enough freshly ground coffee, coarse ground is best, into the filter and snap on the lid to the filter basket. The general rule is one level coffee scoop (1 Tablespoon) for every cup you intend to perk.
- Place the top on the percolator coffee pot and either plug it in, or place it on your heat source over medium heat.
- It’s best not to rush your coffee making; a slow, steady medium heat will result in a better tasting brew.
- You will see the coffee begin to perk up into the clear window on the top of the lid. I like to time my perked coffee for anywhere from 4-6 minutes, depending upon how strong I want the finished coffee to be.
- After you have let your coffee perk for at least 3 minutes, remove it from the heat. Your coffee maker will continue to perk until the temperature drops a bit.
- When the coffee is no longer perking up in the clear viewer on the top, you can carefully (use pot holders!) remove the filter basket and enjoy your brew.
This may seem obvious, but if you add more freshly ground coffee to the filter basket, the stronger you coffee will be. Likewise, when you allow the coffee to perk a few minutes longer, the stronger it will be.
With percolated coffee you have 2 options that will help you achieve just the perfect strength of coffee, without either adding any bitterness or burnt flavor to your coffee.
What are the perks of a percolator?
- Stovetop percolators are fairly inexpensive.
- A percolator coffee pot can use up to 20% less coffee.
- You can adjust the strength of your coffee easily.
- For those who like a really hot cup of coffee, a percolator is the way to go.
How do you choose the best coffee percolators?
There are 2 basic types of coffee percolators
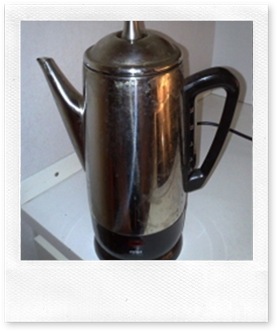
- Electric percolators, which need to be plugged into a power source, like thee Hamilton Beach model shown on the right.
The nice thing about electric percolators is that they stop perking at the right time, so that you do not need to watch the coffee pot as closely as you would with a stovetop type of percolator.
An electric percolator can go with you camping, as long as you have an electric source … either a generator or a campsite with electric hookups.
2. Stovetop percolators, which use another fuel source to heat the water in the pot … such as a gas range or a campfire.
These types of manual coffee makers are available in both glass and stainless models. Some say that a glass carafe results in a cleaner tasting coffee, but I have not noticed any taste difference between the two types of coffee percolators.
Can coffee percolators really serve that many people?
Having used a percolator coffee pot myself, I can tell you that this coffee maker does double, even triple duty. With coffee percolators, you will be able to brew up a large number of cups of coffee at one time, from as few as 4 to as many as 12. So there is no need to purchase both a small coffee maker and a larger unit for those bigger occasions.
I also like the way it looks on the stovetop, always handy for drop-in company. Moreover, as many of my guests and family enjoy tea, the percolator is the ideal maker for brewing loose tea. From Yerba Mate to loose green organic tea, we get a smooth, full bodied tea by just allowing it to perk for 3 minutes.
My neighbor uses a Dualit cordless electric coffee percolator and loves how it goes from perking to table so easily. The Dualit percolator stays hot for a long time without the need to be plugged in, which means your coffee is always hot when you want a second cup.
This cordless percolator is somewhat more expensive than other electric percolators, but you will find that in the long run that you will appreciate the cordless feature, especially if you entertain at all.
There are many types of percolator coffee pots available, both electric and stovetop. Amazon lists over 300 different results, so it’s important to choose carefully.
A recent reader has rediscovered her old percolator pot, and writes:…
Why I am rediscovering percolator coffee!
by Joanne
My husband and I “rediscovered” the art of making coffee about 5 years ago. We visited the home of one of my best friends from a local university. She had an old fashioned percolator on her stove. You know…the one with no filters but you boil the water and it drips back through the coffee.
The smell of the coffee was wonderful. I feel like I’m camping out west. Helps to have a gas stove. So we decided to adapt the technique … using our favorite Starbucks brand, we now use an old fashioned perk… 8 cups of water. 2 tablespoons of coffee per 2 cups, bring to a boil, then perk for 5 minutes.
Great smell and nice flavor….no waste!
Thanks, Joanne!
If you’re interested in other coffee makers, check out our post.
Looking for new equipment, check out the coffee makers, coffee grinders, and bean roasters page.
![]()

